Showing posts with label wreath. Show all posts

Monday, December 9, 2013

Decorate with a Christmas Wreath...Horizontal

I really hate to mix holidays. But with Thanksgiving later than usual, I was really itching to get my Christmas decorations up. So I found myself a few days before Thanksgiving with a temporarily empty house (my husband and kids had already started the journey to visit family, while I was going to catch up the next day after I finished up at work.), and the need to get at least some kind of Christmas décor up in my house. After all, no one else would see it until after Thanksgiving was over, and I thought it would be a nice surprise to put us in the holiday mood once we returned.

After inspiration from this tutorial, I was ready.

I stumbled upon these great ornaments at Ikea. I mainly bought the box for the red and white striped ornaments, and figured I would incorporate the rest in some way later. I also picked up a string of red beads while I was there.


Then it was off to Michael's to pick up two wreaths. 

I also made a trip to Home Goods hoping to find a plaid runner for the dining room table. I wanted something that was more red and black instead of what was at the store, red and green plaid. I ended up finding napkins that matched the colors I wanted, but wasn't exactly sure yet how I would use them in my décor.

So I brought home all of my loot, and got to work.

First, I started with the centerpiece of the design, the wreaths. I flipped over one of the wreaths and tied a length of the string of red beads to the frame. I then tied the other end to the opposite side of the wreath. This was repeated with another length of string, on the opposite side of the wreath, so the when finished the "four corners" of the wreath were tied with the string of red beads.


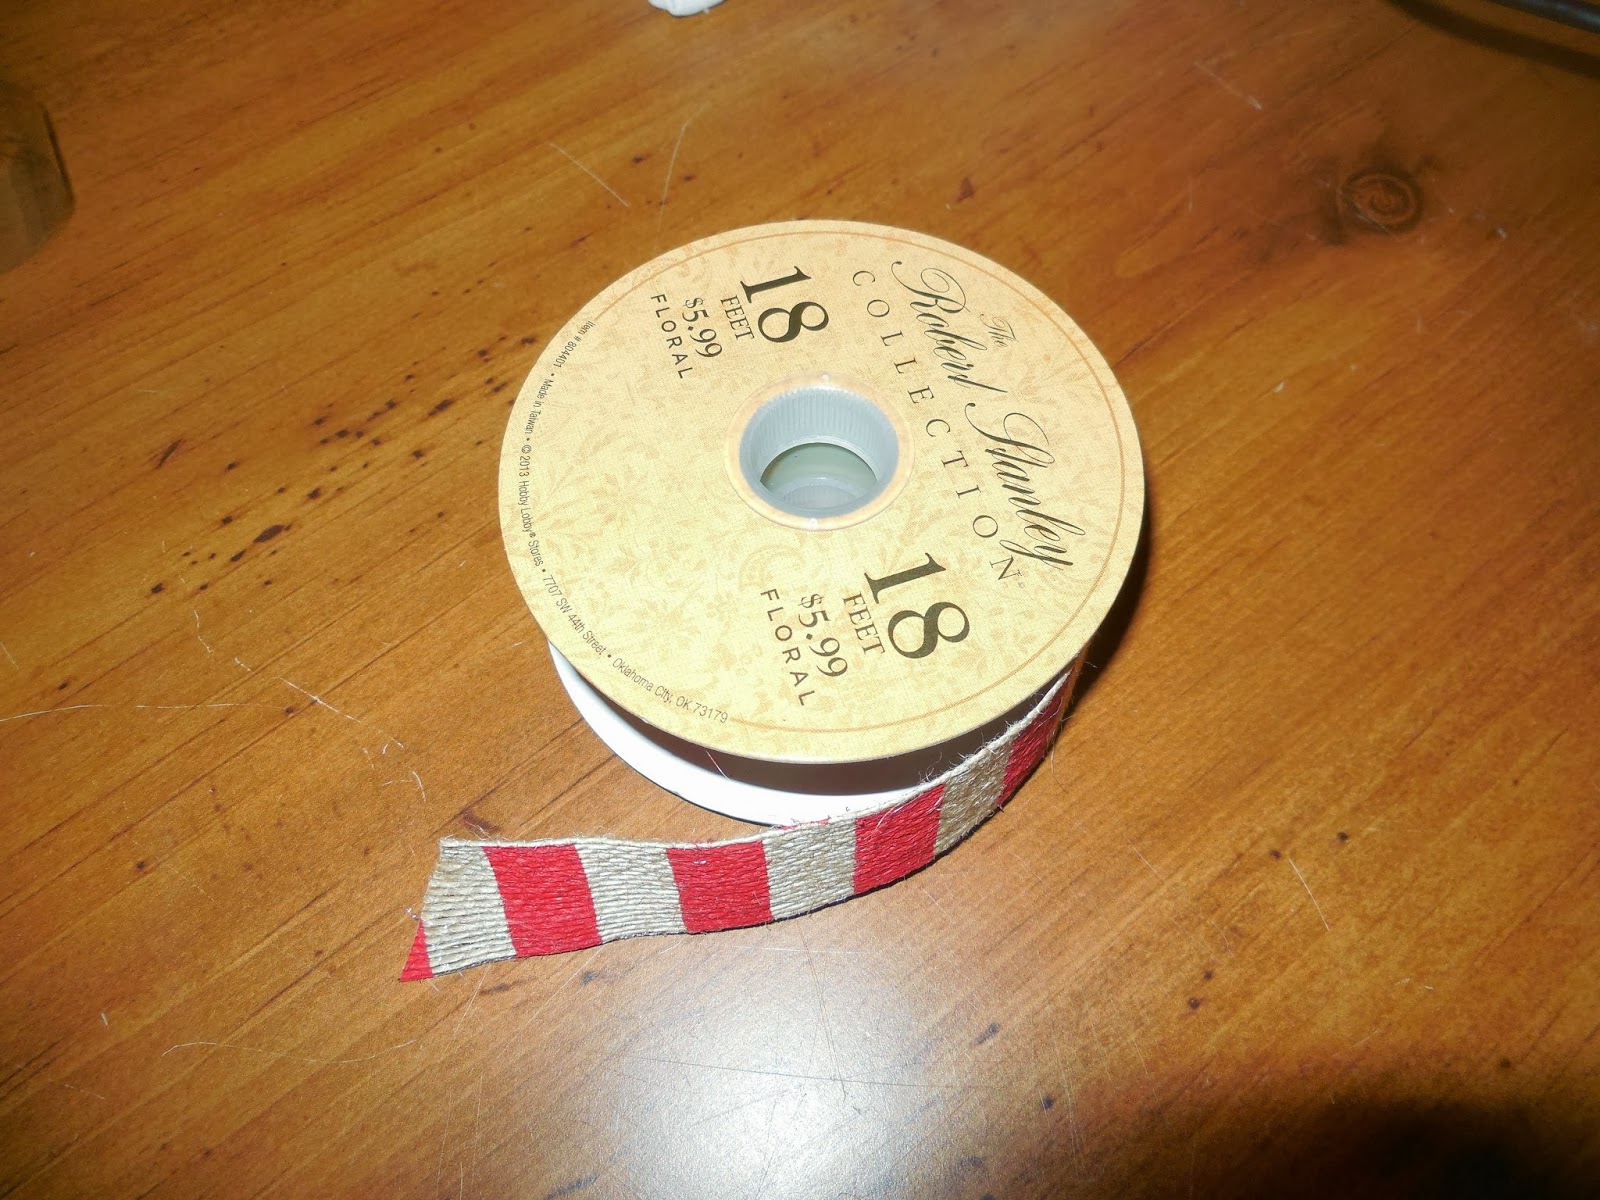
I then placed the second wreath on top. It needed a little fluffing of the branches on the wreath to lay together. After a little bit of work it still was not looking right, so I grabbed some ribbon that happened to be nearby, and tied the two wreaths together in a few places. If your wreaths behave themselves, you might not have to do this.


Next up was hanging the wreath...horizontal. I luckily was able to just loop the two length of the string of red beads over the top of the light fixture. But a removable hook like the kind sold by 3M could also be used.

I added the red and white ornaments, and the green and red ones also in the package, to the wreaths.


After some experimenting, I decided to decorate the chairs with the napkins and add the gift box ornaments. (I will have a tutorial on that tomorrow, so be sure to check back.)


And last Sunday, when we got back from our long journey home, my kids were really excited to see the house in a festive mood already.


Overall, I thought this was a great improvement to our holiday décor. Now on to finish the rest of the house.

Also, for more Christmas décor ideas check out Jennifer Rizzo's blog here.

Jennifer Rizzo's holiday housewalk link party. Link up your home for a chance to be in next years house walk.

Linking Up with Not Just a Housewife, Savvy Southern Style, Hi Sugarplum, Michaela Noelle Designs, Remodelaholic, Evolution of Style


Wednesday, October 2, 2013

Creat a Light, Airy, and a Little Different Fall Wreath

I am so excited to share the wreath I made...with help from my son. I wanted something that was light, airy, and a little different than the typical wreath. I think I definitely met those requirements with this one.


First, I went to my local craft store and picked out decorative fall branches and a roll of burlap ribbon.


I started to form the bottom wire part of the yellow branches into a circular shape, but I couldn't get it to stay right. My son told me that I should use a pipe cleaner, and he made one into a circle for me. It gave me the base I needed to create the wreath. Sometimes, he is smarter than his mother!


I actually tore apart the beaded branches, and used them as individual strains. The beaded branches weren't looking right clumped together, and I wanted them spaced all around the wreath.

Next up was covering up the center pipe cleaner. I wrapped the striped burlap ribbon around the middle, securing it at the ends with a little hot glue. It gave just enough structure to hold all the parts of the wreath in place.


I was actually quite pleased with the finished product...and admittedly a little surprised that it all turned out! I quickly hung it on the wall to snap a picture.


Then it was time to try it out on the front door.


I actually hated it there. The large door knocker looked too clunky for such a delicate wreath. I also tried placing the wreath above and below the knocker, but it just didn't look right on the door. I was getting a little frustrated to say the least.

Then inspiration hit me. I hung it on a nail that was already between the window and the door. It was like it was meant to be.


The fall wreath is a great improvement to the décor on my front porch.


Be sure to check out the other fall touches I added around my house here, and a tutorial on how to make unique fall vases here.

I linked this post up to Inspired Room and Southern Hospitality, Remodelholic

And Not Just A Housewife for the Best DIY Project contest