

First, I went to my local craft store and picked out decorative fall branches and a roll of burlap ribbon.


I actually tore apart the beaded branches, and used them as individual strains. The beaded branches weren't looking right clumped together, and I wanted them spaced all around the wreath.
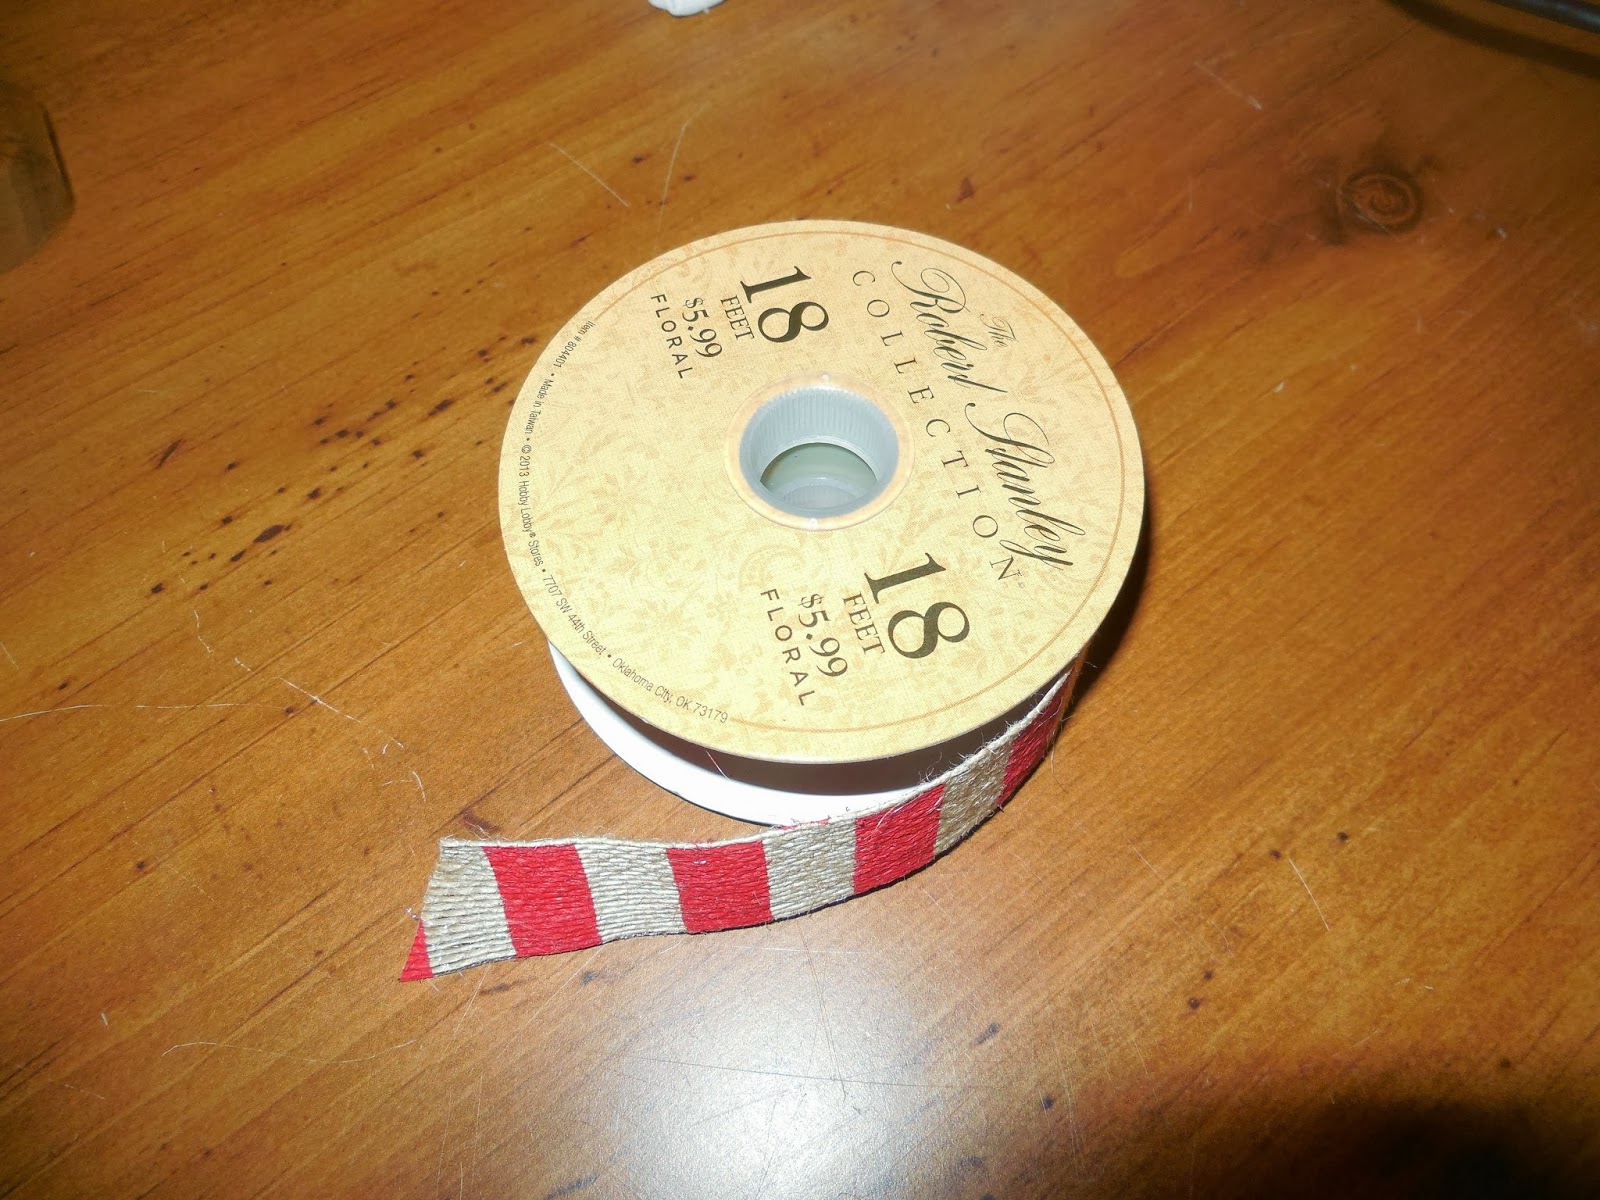
Next up was covering up the center pipe cleaner. I wrapped the striped burlap ribbon around the middle, securing it at the ends with a little hot glue. It gave just enough structure to hold all the parts of the wreath in place.

I was actually quite pleased with the finished product...and admittedly a little surprised that it all turned out! I quickly hung it on the wall to snap a picture.

Then it was time to try it out on the front door.

I actually hated it there. The large door knocker looked too clunky for such a delicate wreath. I also tried placing the wreath above and below the knocker, but it just didn't look right on the door. I was getting a little frustrated to say the least.
Then inspiration hit me. I hung it on a nail that was already between the window and the door. It was like it was meant to be.

The fall wreath is a great improvement to the décor on my front porch.

Be sure to check out the other fall touches I added around my house here, and a tutorial on how to make unique fall vases here.
I linked this post up to Inspired Room and Southern Hospitality, Remodelholic
And Not Just A Housewife for the Best DIY Project contest
This comment has been removed by the author.
ReplyDelete